Post a site update
Last updated: July 17, 2026
Publish a site update
Use the video controls or chapter buttons to follow this tutorial.
Read transcript
- Open the project Feed and select Add update to start a new field update.
- Choose Site update, then confirm Tutorial Site Hub is shown as the posting destination.
- Enter a short, specific title. This example records a completed foundation inspection.
- Describe what changed using factual wording that will help teammates who were not on site.
- Review the title and detail, dismiss the keyboard if needed, then select Post update once.
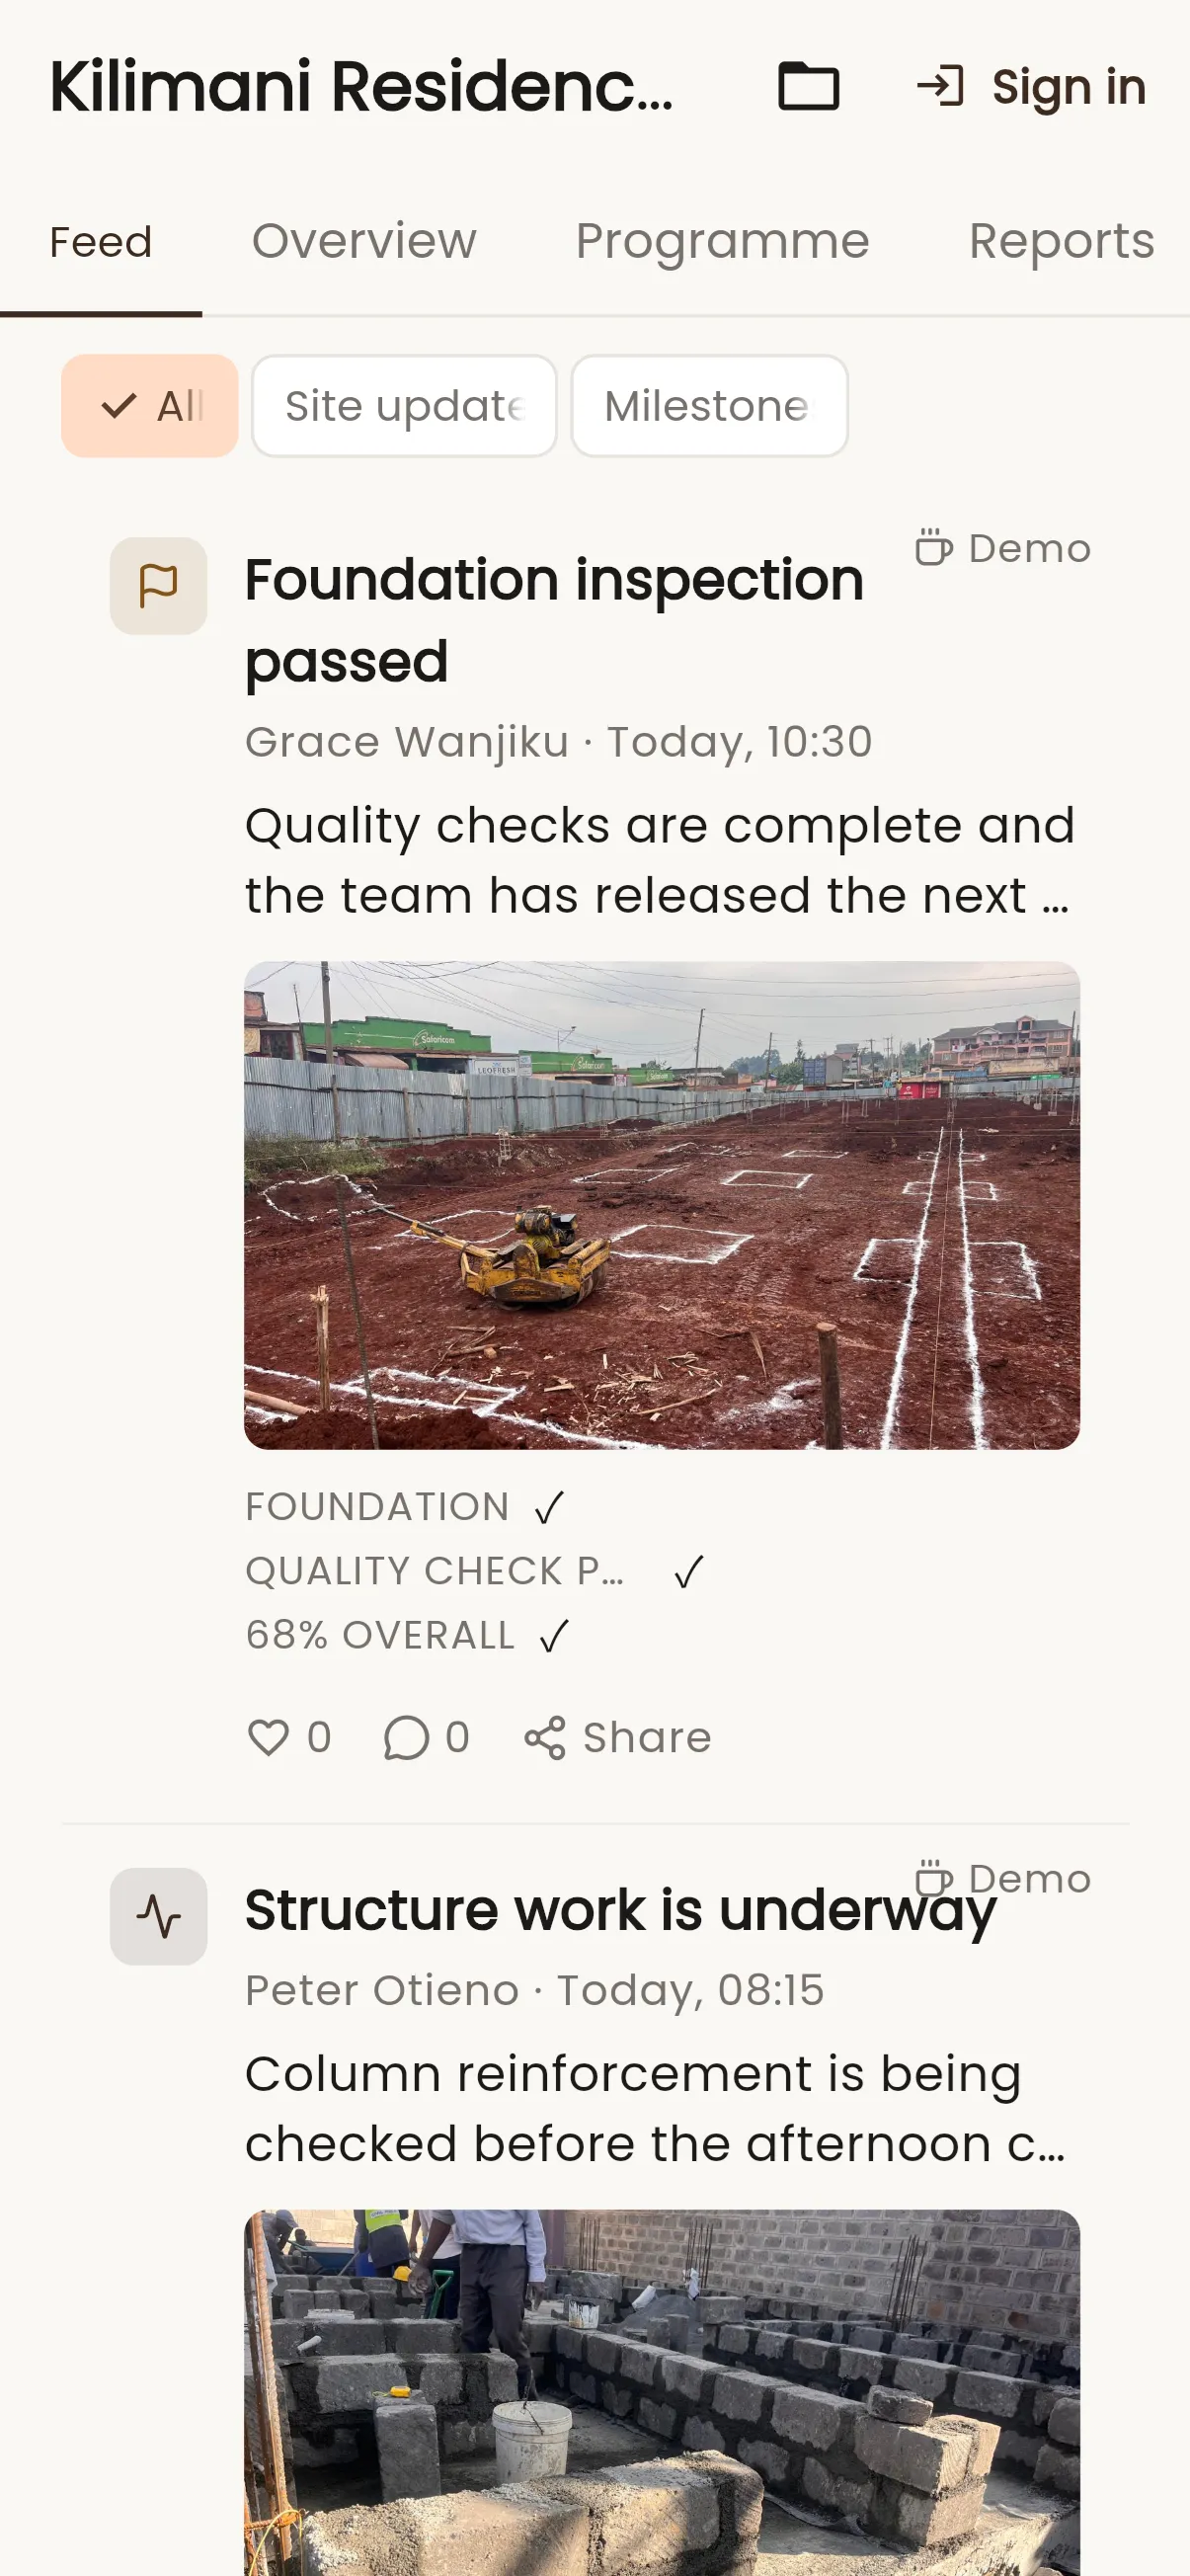
- InBuildr returns to the Feed and confirms Update posted. The new card shows the title, detail, author, and time.
- The published update remains in the project story, where the team can return to it later.
Before you begin
Section titled “Before you begin”Sign in, open the project, and have the update details ready. Add media only when it helps communicate the site status.
Permission note
Section titled “Permission note”You need permission to edit the project to post an update.
- Open the project Feed tab.
- Select Add update.
- Choose Site update or Milestone.
- Add the title, details, and any useful media, then post the update.
Expected result
Section titled “Expected result”The update appears in the project feed, where project participants can open it and use the available discussion actions.
Troubleshooting
Section titled “Troubleshooting”If Add update is missing, you do not have the required project permission. If a media picker closes unexpectedly, reopen the update composer and try the picker again; report repeat failures with your device, operating system, and the action you selected.