Record an expense
Last updated: July 18, 2026
Before you begin
Section titled “Before you begin”Sign in, open the project, and have the expense details and a receipt file ready. A receipt attachment is required.
Permission note
Section titled “Permission note”Creating an expense requires the project’s expense-create permission.
- Open the project Reports tab and select the Expenditure view, or choose Expense from the shared add activity picker.
- Enter the expense description, choose a Category, enter an Amount, and confirm the Date and Time.
- Choose a Status.
- Select Add Attachment and add the receipt. You can attach up to 10 files.
- Review the details and select Add expense.
- Return to the expenditure view to find the recorded spend.
Expected result
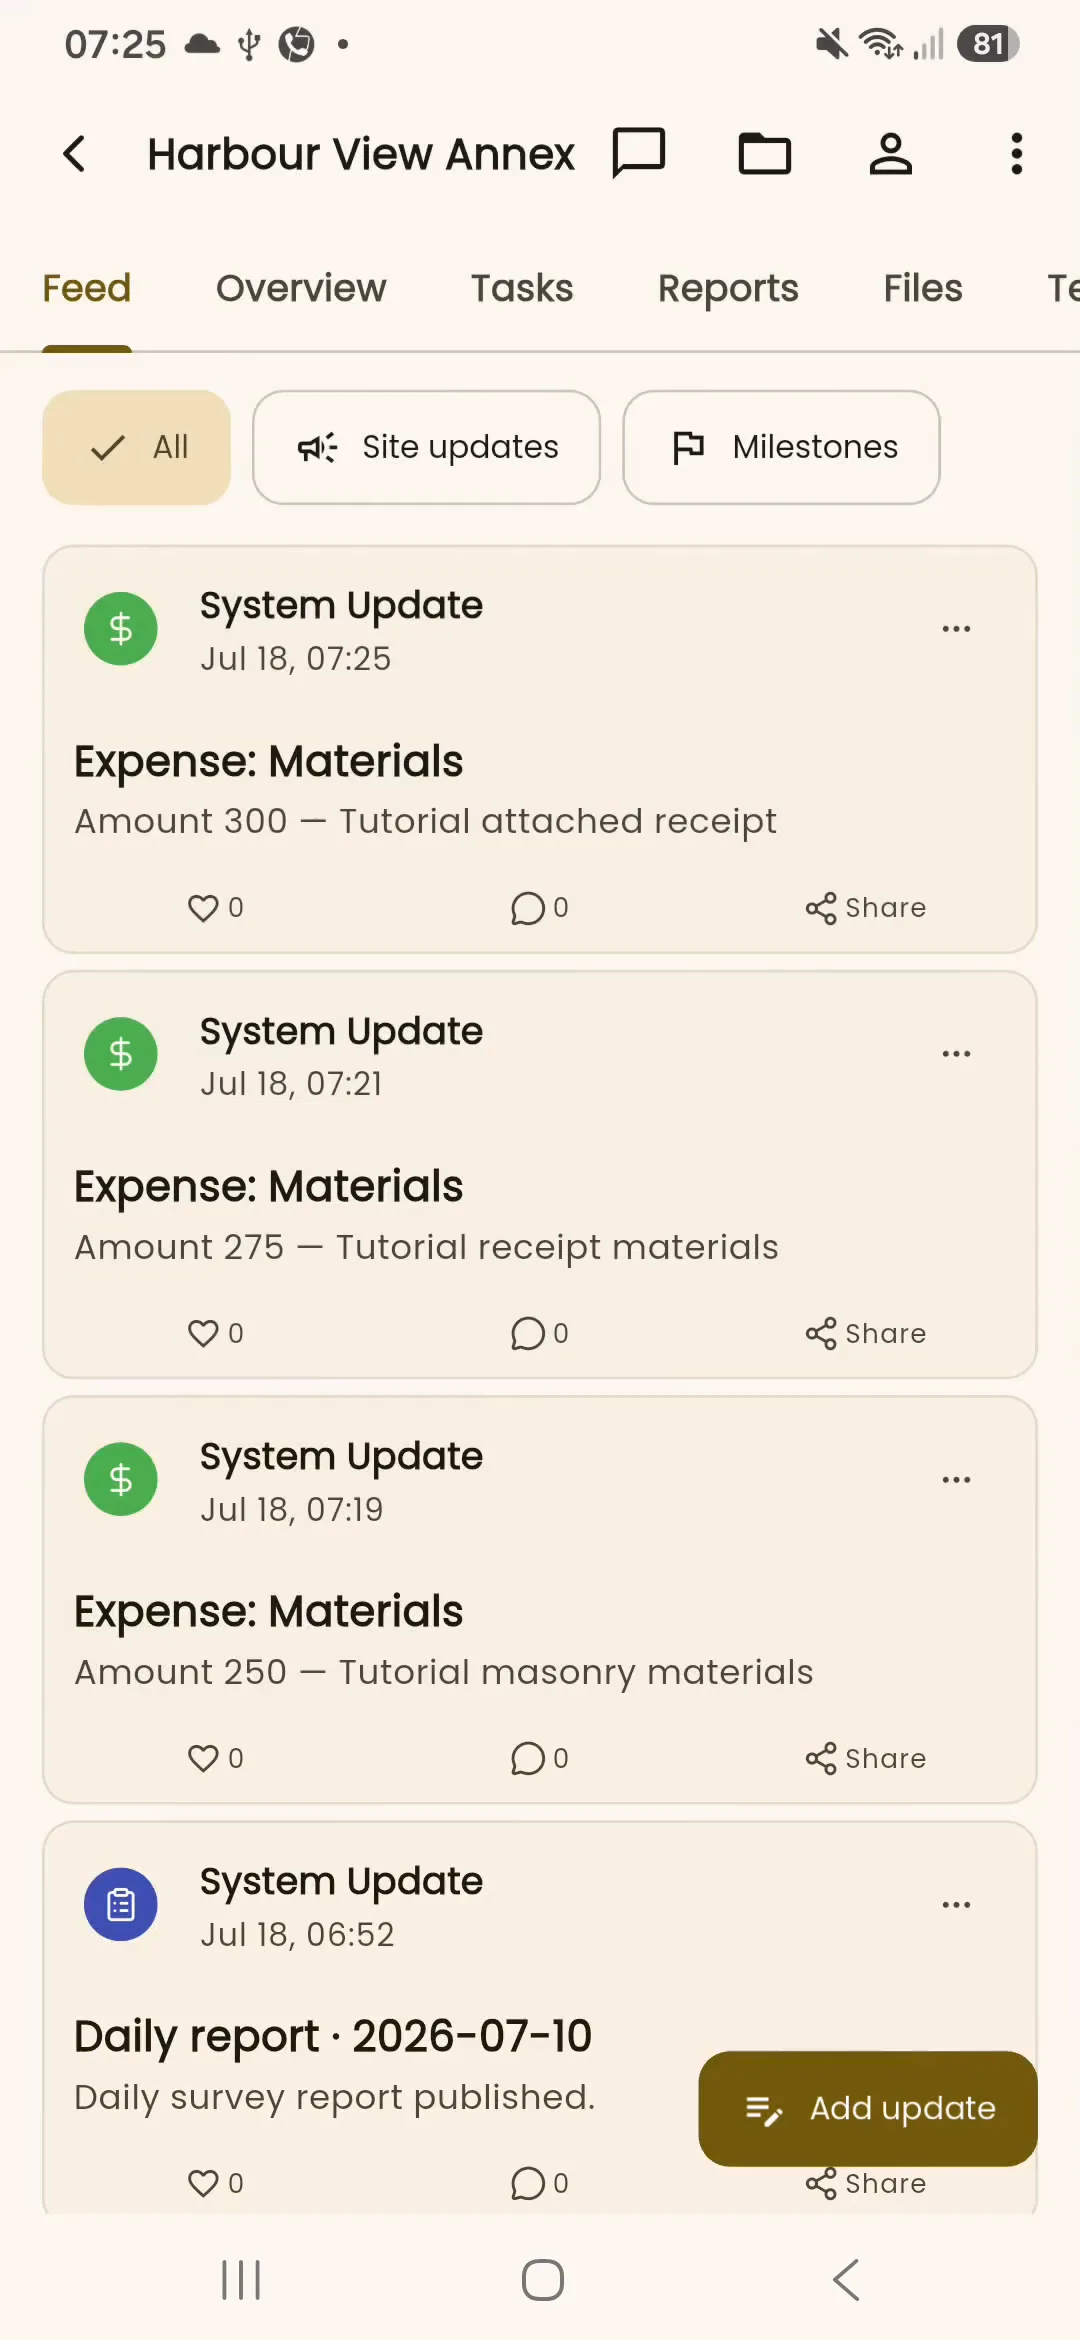
Section titled “Expected result”The expense is recorded for the project and can appear in the feed as a linked activity.
Troubleshooting
Section titled “Troubleshooting”If the expense option is unavailable, your project role does not have expense-create permission. Attach a receipt means no attachment has been added. If a file cannot be opened, choose it again from a location available to InBuildr. If the entry does not appear, refresh the expenditure view and check the selected date or filter.