Create a project
Last updated: July 17, 2026
Create and open a project
Use the video controls or chapter buttons to follow this tutorial.
Read transcript
- From an open project, open the project menu and choose Create project.
- The form starts with the essential details your team uses to identify the project.
- Replace the suggested name with a clear project name. This example uses the synthetic Tutorial Site Hub project.
- Add a short description explaining the project. Location, schedule, financial details, and review information can be completed when those details are available.
- Continue through the form and create the project once. InBuildr opens its Feed automatically, ready for the first site update.
Before you begin
Section titled “Before you begin”Sign in to InBuildr. Have a project name ready; project details such as location, schedule, and team can be completed later.
Permission note
Section titled “Permission note”Any authenticated user can create a project. You become its owner.
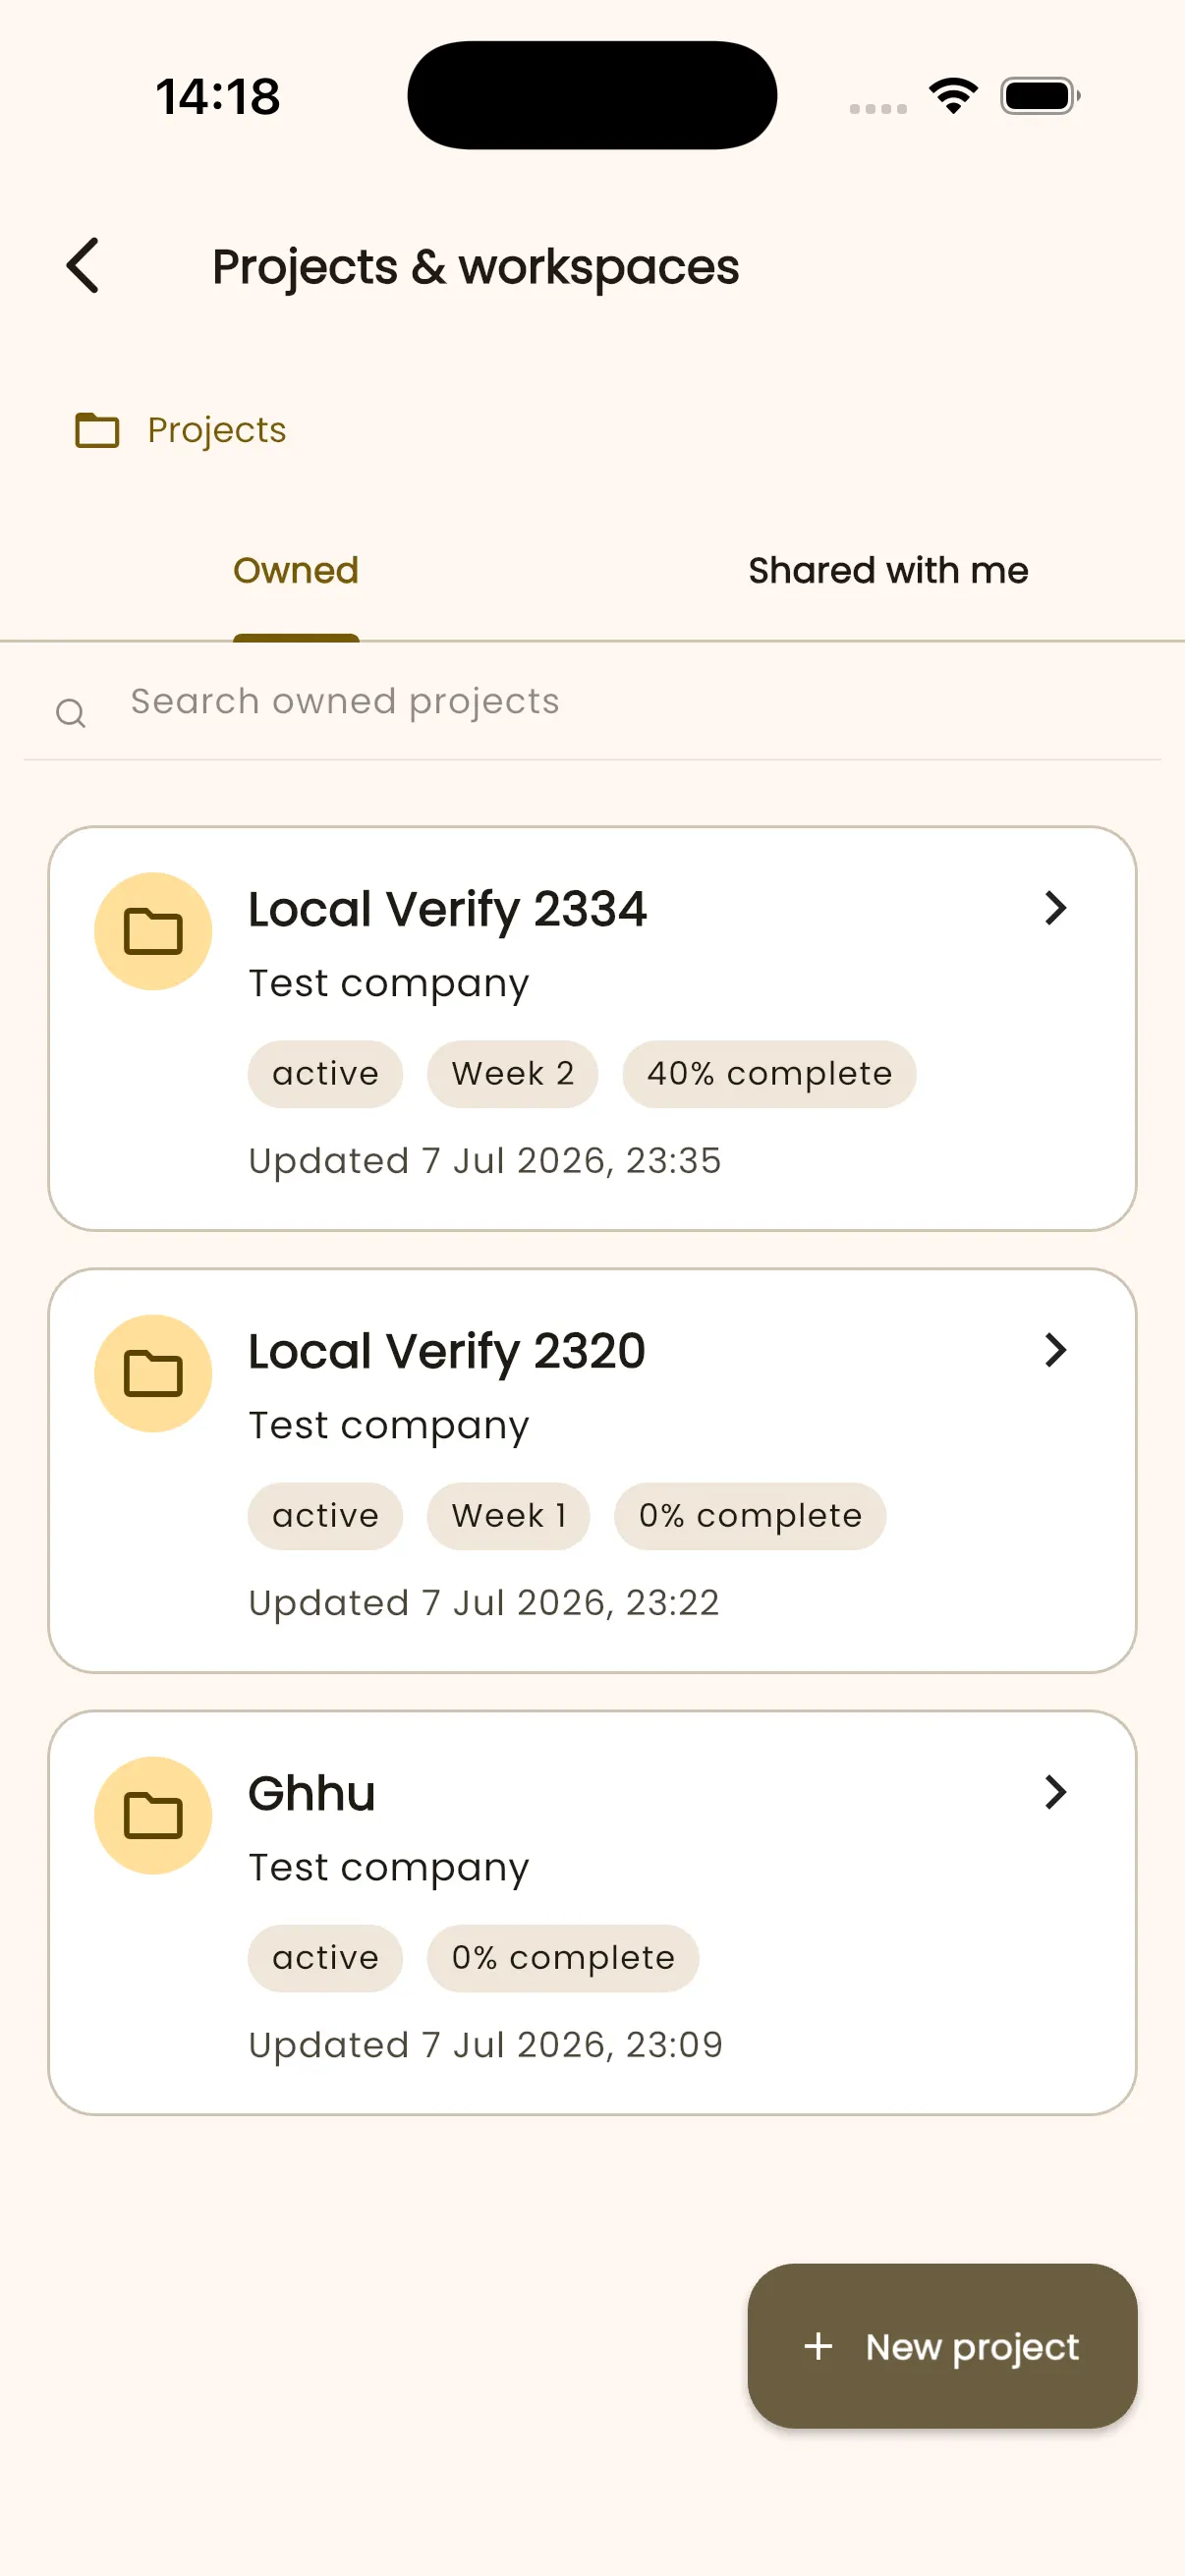
- Open Projects & workspaces.
- Select New project.
- Enter the project name and complete the fields that are available to you.
- Save the project, then open it from the projects list.
Expected result
Section titled “Expected result”The new project opens as a workspace where you can use its Feed, Overview, Tasks, Reports, Files, and Team areas.
Troubleshooting
Section titled “Troubleshooting”If New project is unavailable, confirm that you are signed in and try again. If it remains unavailable, contact support with the action you took and your device details.