Add a project file
Last updated: July 17, 2026
Manage project files
Use the video controls or chapter buttons to follow this tutorial.
Read transcript
- Add and find a project document in InBuildr.
- Open the project Files tab, then select Add file.
- Choose Document to open Android's file picker.
- Select the synthetic field-checklist file prepared for this tutorial.
- Review the selected file, then add a clear description.
- Select Upload and wait for the success confirmation.
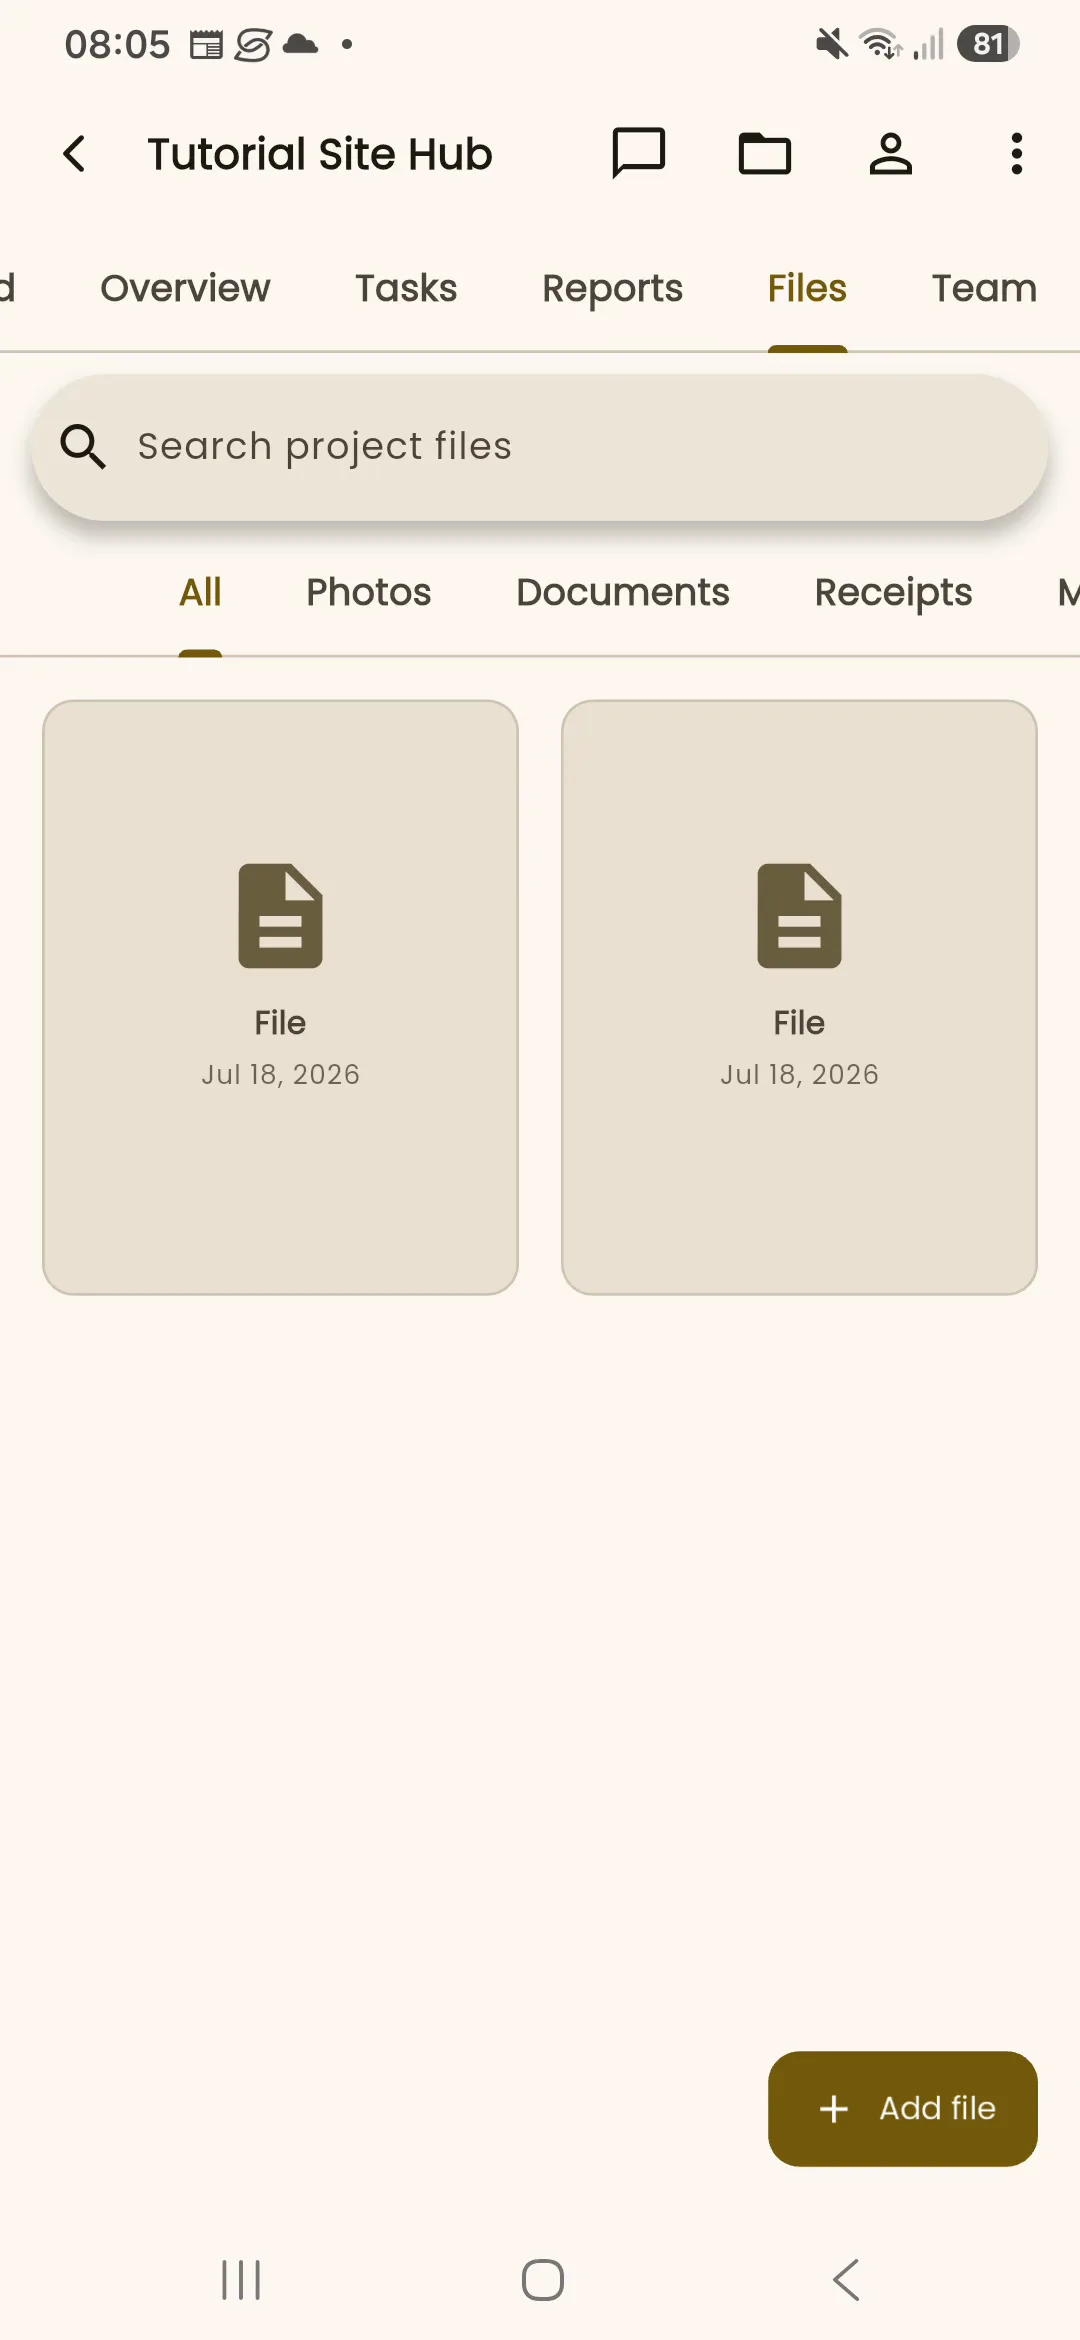
- The Files tab now shows the new document alongside the existing project file.
- Use the search field and file-type filters here whenever you need to find it again.
Before you begin
Section titled “Before you begin”Sign in, open the project, and choose the file you want to share with the project.
Permission note
Section titled “Permission note”Uploading a project file requires document-create permission.
- Open the project Files tab or choose File from the shared add activity picker.
- Select Add file.
- Choose the file and complete the information requested by the form.
- Save the file, then use search or the available file filters to find it.
Expected result
Section titled “Expected result”The file is available in the project Files tab and can be opened from its file entry.
Troubleshooting
Section titled “Troubleshooting”If Add file is unavailable, ask a project administrator to review your document permission. If a file picker does not return to InBuildr, reopen the Files tab and try again before reporting the device and file type.